Create tables
Generate new table
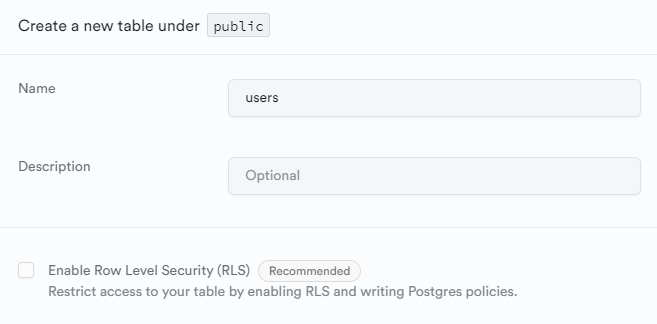
This can be achieved interactively using the supabase studio (assumed running locally)
http://localhost:54323/project/default/editor

For ease of testing, you will likely want to opt out of Row Level Security. Permissions can be configured at a later stage
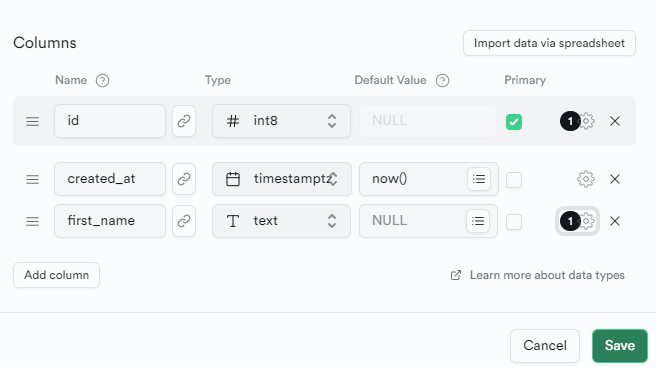
Define Schema
Using the interactive interface define data columns for your table
Export definition
Once a table has been created, the definition needs to be stored to enable recreation on bootstrap and update.
- Create a migration file to store the definition update.
yarn nx run picsa-server:supabase migration new [migration_name]Providing a clear name for the migration. E.g. if creating a new table to store users:
yarn nx run picsa-server:supabase migration new users_table_createThis will populate a new file to apps\picsa-server\supabase\migrations.
- Copy the table definition to the migration
The definition can be found in the UI using the
Definitiontab in the top-right corner

Export Seed Data
It is often useful to include some example data to use for development.
Any data that has been generated locally can be exported as CSV directly from the supabase dashboard. Select rows for export and select Export to CSV.
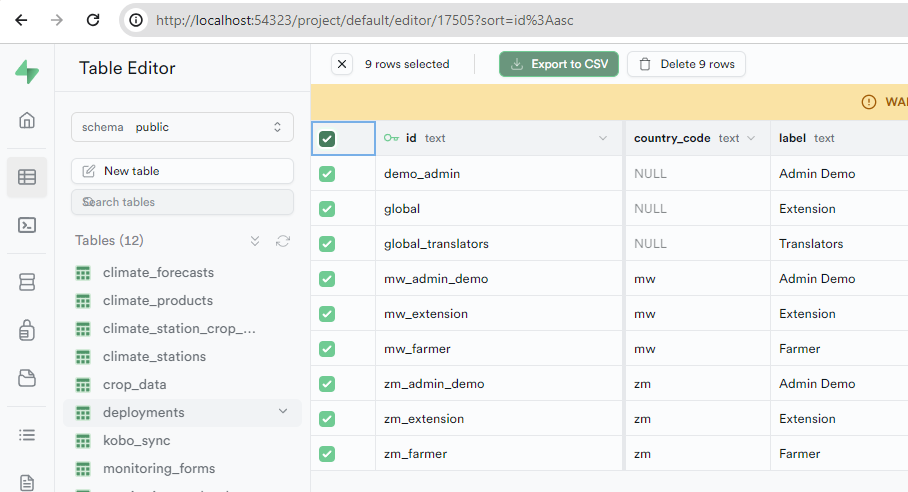
This data should be placed in the apps\picsa-server\supabase\data folder.
Seed data can then be imported via
yarn nx run picsa-server:seed